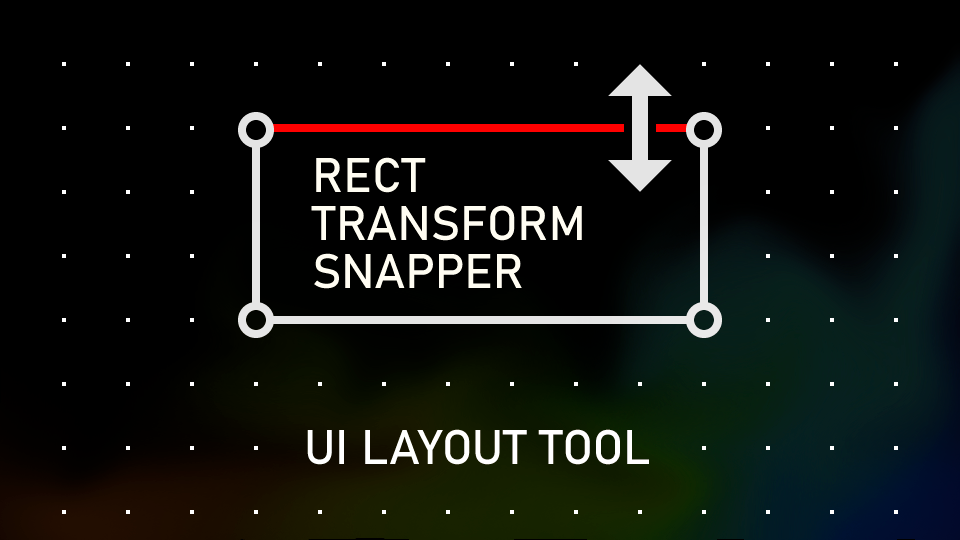
Unity Editor tool for creating perfectly aligned UI layouts with visual grid snapping. Real-time grid overlay, smart snapping, group transformations, and reference image support.
Key Features
Grid System
Visual dot grid overlay with customizable step size, subdivisions, offset, and 9-point origin selection. Automatic LOD for performance.
Smart Snapping
Snaps object center, left/right edges, and top/bottom edges. Works with Move and Rect tools, respects axis locking.
Group Operations
Move and scale multiple RectTransforms together while maintaining relative positions. Visual group bounds with handles.
Canvas Integration
Assign any Canvas as coordinate system. Snap to Canvas boundaries, edges, and center with adjustable threshold.
Reference Overlay
Add semi-transparent reference images with auto texture optimization. Color, opacity, and "Always On Top" controls.
Advanced Features
Axis locking, proportional child scaling, full Undo/Redo support, hotkeys, and persistent settings across sessions.
Quick Start
Get started with Rect Transform Snapper in 7 easy steps:
- Open the tool: Window → Multitool → Rect Snapper
- Assign a target Canvas in the "Canvas" field (or click "New Canvas" to create one)
- Set Grid Step (e.g., 16, 32, 64 pixels) - controls snapping precision
- Optionally set Subdivisions (e.g., 2, 4, 8) for finer grid control
- Select any UI element (RectTransform) in your Canvas
- Drag with Move or Rect tool - objects snap to grid points automatically
- Use hotkeys for quick adjustments (see Hotkeys section below)
Add your screenshot here (e.g., screenshot.png)
Hotkeys
Speed up your workflow with keyboard shortcuts:
Shift + - (Minus) - Divide grid step by 2
Shift + = (Equals) - Multiply grid step by 2
Shift + [ (Left) - Divide subdivisions by 2
Shift + ] (Right) - Multiply subdivisions by 2
Note: Hotkeys work when the Rect Snapper window has focus or when Scene View is active.
Installation
Install Rect Transform Snapper in your Unity project:
2. Ensure the folder appears at: Assets/Plugins/Multitool/RectTransformSnapper
3. Open the window: Window → Multitool → Rect Snapper
The tool is ready to use immediately after installation. No additional setup required!
Requirements
- Unity 2021.3 LTS or newer (tested with URP templates)
- Built-in UGUI system (UI Toolkit not supported)
- Editor permissions to write EditorPrefs
- Scene with Canvas and RectTransform objects
- Works on Windows, macOS, and Linux
Advanced Features
🔒 Axis Locking
In Move tool, click directly on the X (red) or Y (green) gizmo arrows to constrain movement to that axis only. Grid snapping still applies along the locked axis.
👥 Group Transformations
Select multiple RectTransforms that share the same parent to automatically activate group mode:
- Move tool: Drag inside group bounds to move all objects together
- Rect tool: Drag edges/corners to scale the group proportionally
- Individual object positions are maintained relative to each other
📏 Proportional Child Scaling
Enable "Resize Children" in the window to make children scale proportionally when resizing a parent object. Useful for maintaining aspect ratios in nested UI structures.
🖼️ Reference Overlay
Add semi-transparent reference images for design implementation:
- Drag a Sprite or Texture into the reference field, or click "Add Ref"
- Automatic texture size optimization
- Use "Fit to Ref" to match Canvas size to reference dimensions
- Adjust appearance with "Reference Color" and "Opacity"
- Enable "Always On Top" to keep overlay above other UI
- Click "Remove Ref" to delete the current reference overlay
🔄 Undo/Redo Support
All operations support Unity's standard Undo/Redo (Ctrl+Z / Ctrl+Y), including grid settings changes, Canvas assignments, and reference overlay operations.
Troubleshooting
Grid not visible?
Ensure "Enabled" is checked and a Canvas is assigned in the tool window.
Objects don't snap?
Use Move or Rect tools. Avoid holding Alt (camera control). Make sure the tool is enabled.
Too many grid dots?
Increase "Grid Step" or decrease "Dot Size". The tool will automatically reduce dots (LOD) for performance.
Wrong snapping behavior?
Check Canvas assignment and grid origin selection in the tool window.
Group operations not working?
Ensure all selected objects share the same parent RectTransform.
Reference overlay not visible?
Check if the reference image is behind other UI elements. Use "Always On Top" option.
FAQ
Does it work with UI Toolkit?
No, this tool is designed for the legacy UGUI system only.
Does it affect build performance?
No, this is an editor-only tool with no runtime code included in builds.
Can I use it with multiple Canvases?
Yes, but you can only assign one Canvas at a time for snapping operations.
How does the grid origin work?
It determines where the grid "starts" within the Canvas (9-point system), affecting how objects align.
Can I disable the grid but keep snapping?
Yes, set "Dot Color" to fully transparent (alpha = 0) to hide the grid while keeping snapping enabled.
Can I use it with prefabs?
Yes, but snapping works on the prefab instance in the scene, not the prefab asset.
How do I remove the reference overlay?
Click the "Remove Ref" button in the Reference Overlay section, or delete the "Reference_" GameObject manually.
Support
Need help or found a bug? We're here to assist:
- 📖 Check the Troubleshooting and FAQ sections above
- ✉️ Email support: bldr0206@gmail.com
- 🐛 Include Unity version, reproduction steps, and screenshots when reporting bugs
Changelog
Version 1.1 (2025-01-09)
- Added Undo/Redo support for all operations
- Enhanced move snapping to consider edges and center
- Added hotkey support (Ctrl+' to toggle)
- Fixed object selection issues during drag operations
- Improved cursor behavior during camera rotation
- Added version display in window
- Grid automatically hides when Canvas is disabled
- Reference Overlay: color and opacity controls
- Reference Overlay: Always On Top option
- Reference Overlay: Remove Ref button
Version 1.0 (2025-09-30)
- Initial release with core snapping functionality
- Grid overlay with customizable appearance
- Canvas boundary snapping
- Group transformations
- Reference overlay system
- Axis locking for Move tool
- Proportional child scaling
